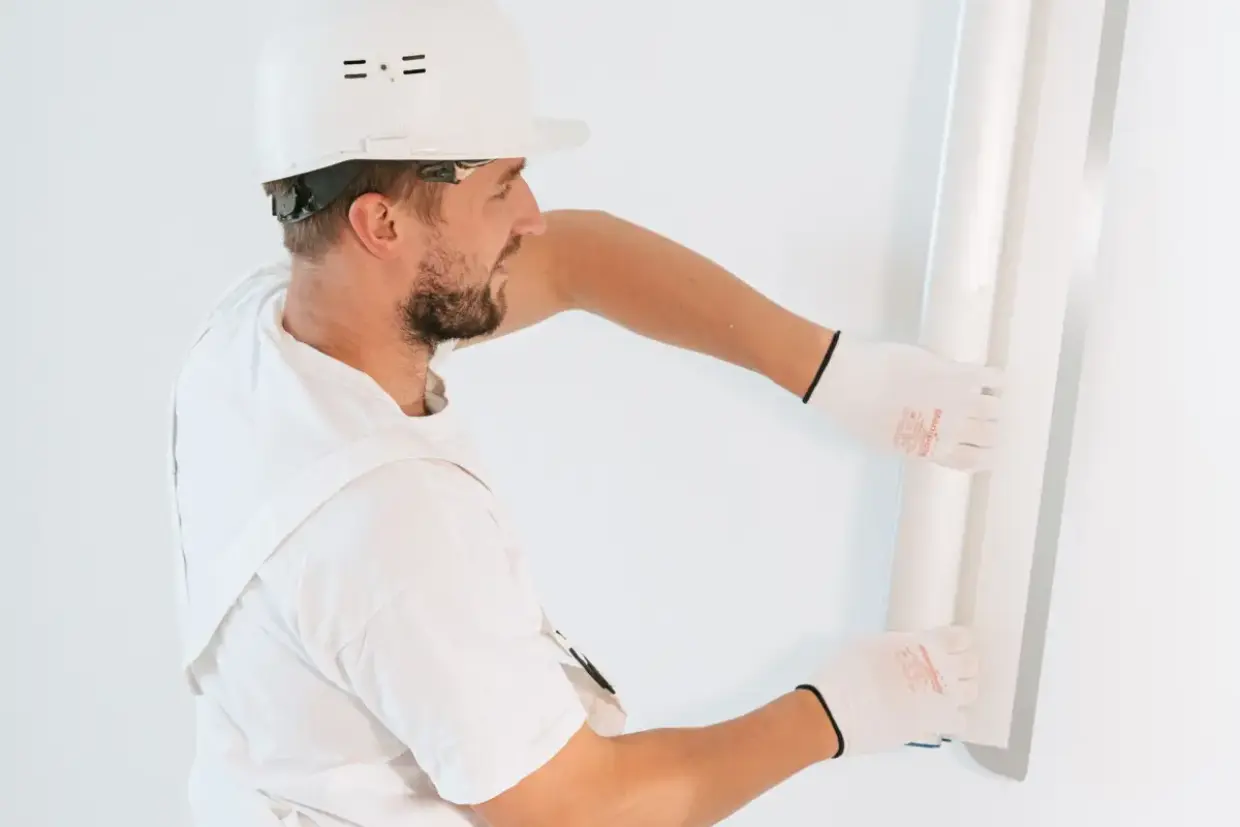
Drywall Installation in Kenosha, WI — Residential & Commercial Drywall Contractors
New construction, additions, remodels, and garages boarded from open framing and taken to a paint-ready finish across Kenosha and Kenosha County. Every estimate follows a walkthrough, not a phone description.
Drywall Installation in Kenosha, WI
Kenosha Elite Drywall is your local resource for drywall installation throughout Kenosha and Kenosha County. We work with experienced drywall professionals who hang, tape, and finish board in homes and commercial spaces here every week.
Drywall installation is the point where a framed room stops being a construction site and becomes a room. Panels get selected, cut, and fastened to studs and joists, seams get taped and coated, and the surface is sanded to whatever finish level the paint and the lighting actually call for. Done well, nobody thinks about it again. Done badly, every seam and fastener announces itself the first afternoon low sun comes through a west window.
Kenosha presents a split that shapes most installation work here. The city's housing has a median build year around 1970, which means the majority of homes are drywall-era construction where new board meets existing textured board and the job is a match. But roughly a fifth of the city's housing predates 1940, concentrated downtown and around Library Park, and there the new board meets original plaster — a different thickness, a different surface, and a junction that needs a skim coat across it rather than a butt joint. Which of those two jobs you have determines the approach before anything is cut.
The part most homeowners underestimate is panel selection. Standard board, moisture-resistant board, and Type X fire-rated board are not interchangeable, and choosing wrong against a garage ceiling or in a bathroom is a mistake that surfaces two years later. Below-grade work has its own decision set and its own page — see basement drywall.
What’s Included in a Kenosha Drywall Installation Quote
- Panel selection by room — standard, moisture-resistant, or Type X fire-rated board where code requires it
- Framing checked for plane, plumb, and fastener backing before any board is lifted
- Board cut and hung with staggered seams, screwed off to the correct spacing and depth
- Corner bead set on every outside corner and inside corners taped square
- Three-coat tape, bed, and finish across seams and fasteners
- Sanding to the agreed finish level, framed against the lighting the room actually has
- Texture matched to the surrounding surfaces where new board meets old
- Debris removed and the surface left ready for primer
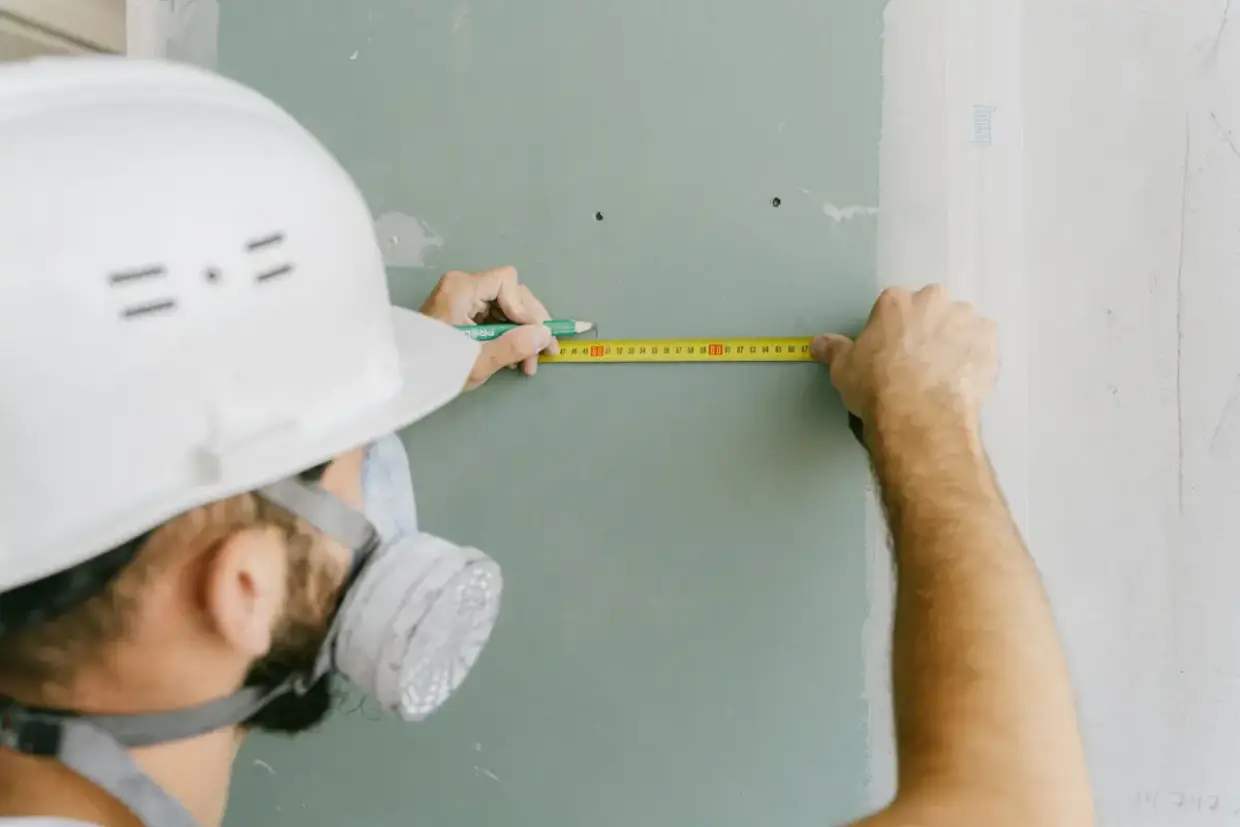
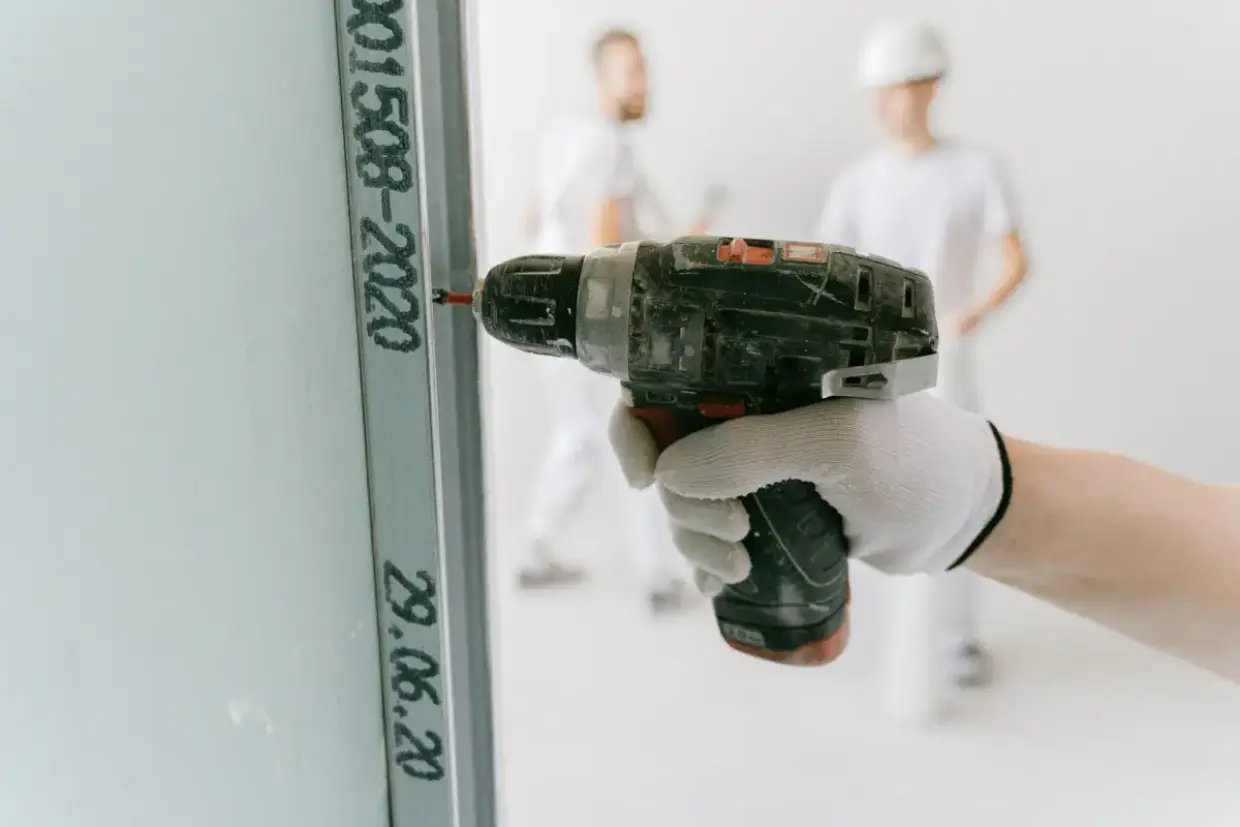
Professional Drywall Installation in Kenosha, WI
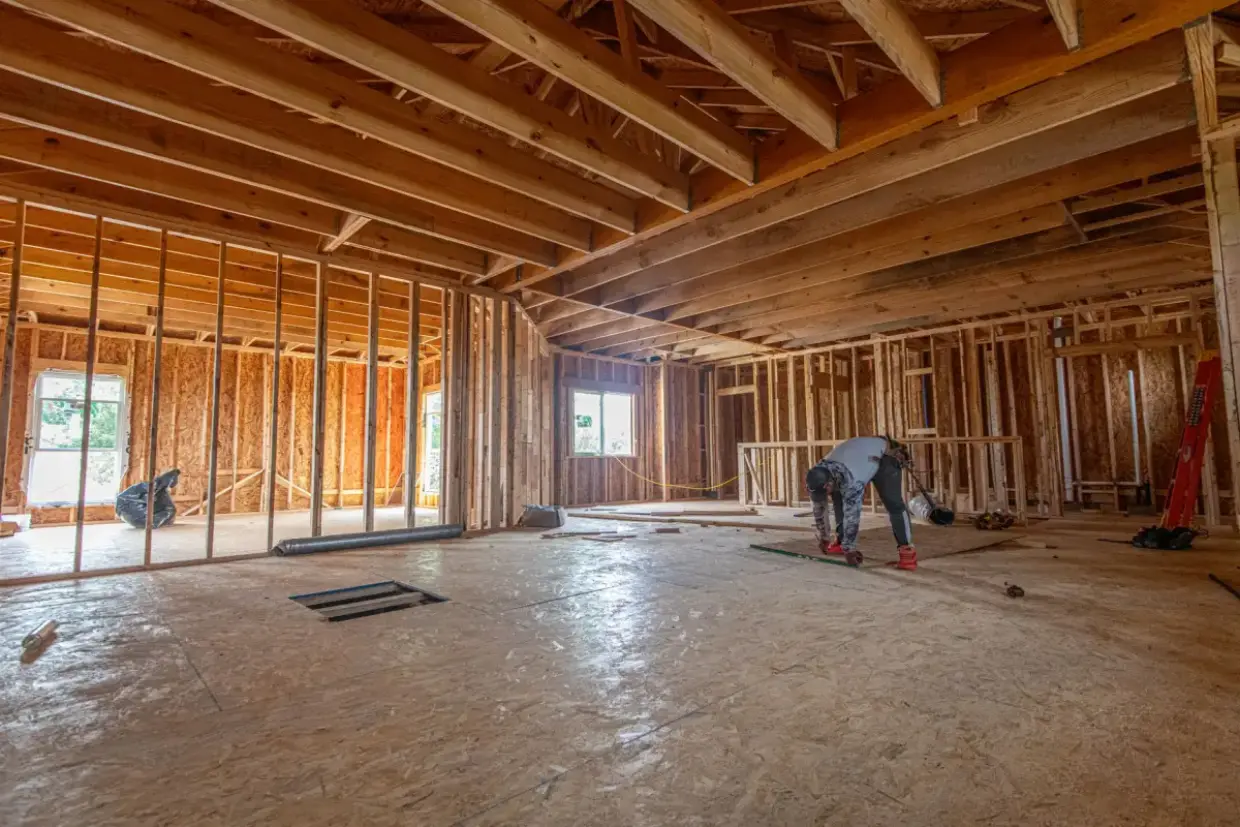
New Construction Drywall Installation
Boarding out a house from open framing, which is the version of this job with the fewest constraints and the most room to get it right. Everything is accessible, the framing can be corrected before board covers it, and the finish level is a decision rather than a match. Most of this work locally sits in Pleasant Prairie, Somers and the newer developments west of the city, where subdivision building has continued steadily. The one thing worth knowing about a brand-new house is that it will move: framing lumber gives up moisture through its first heating season, and some fastener movement in the first year or two is normal rather than a defect.
Home Addition Drywall Installation
New space joined to an existing house, where the difficulty is entirely at the junction. The new board is flat, clean and modern; the existing wall has a texture, a plane and often a thickness that do not match it. Making the two read as one surface means feathering the transition wide rather than taping a tight seam, sampling and reproducing the existing texture, and accepting that the two sections will settle at slightly different rates for the first year. Where the existing side is plaster rather than board — common in the older core — the junction needs a skim coat across it rather than a joint at it.
Wall & Ceiling Drywall Installation
Walls and ceilings are the same material and genuinely different work. Ceilings carry their own weight against gravity across the full span, so panel thickness, framing spacing and fastener pattern matter more, and 5/8 inch board is the right call on 24-inch centers where 1/2 inch will sag over time. Ceilings are also judged from across the room in flat light, which is the least forgiving viewing condition there is — a seam that would disappear on a wall stands out overhead. Where a ceiling is going to be textured, the texture is sampled and tested on scrap before any of it goes up.
Garage Drywall Installation
Garages carry a code requirement most homeowners are unaware of until it comes up: the separation between an attached garage and the living space above or beside it has to be a rated assembly, which in practice means Type X board of the specified thickness with its joints properly finished. Standard board in that location is a code failure regardless of how well it is hung. Beyond the rating, garages are unconditioned space in a climate that swings from below zero to humid summers, so panel selection and fastening have to allow for a surface that expands and contracts far more than an interior wall.
Drywall Hanging & Sheetrock Installation
The hanging phase itself, which sets up everything that follows. Panels run perpendicular to framing wherever possible so each sheet crosses more members, seams are staggered rather than stacked, and no joint lands at a door or window corner where movement concentrates and cracks start. Screws are set just below the paper surface without breaking it, because a screw that tears the face has lost most of its holding power and will pop later. Butt joints are minimized and placed where lighting is kindest, since a butt joint has no tapered edge to hide the buildup and is the hardest seam on any job to make disappear.
Signs You Need Drywall Installation
- New framing standing open and ready to be boarded
- An addition or bump-out that needs to blend into the existing house
- A remodel where walls have been opened up and reconfigured
- An attached garage without the rated separation the code requires
- A ceiling that needs boarding on 24-inch centers
- A room where the finish level has to suit the lighting and the paint sheen
How Drywall Installation Works
- 1
Walk the Framing Before Anything Is Ordered
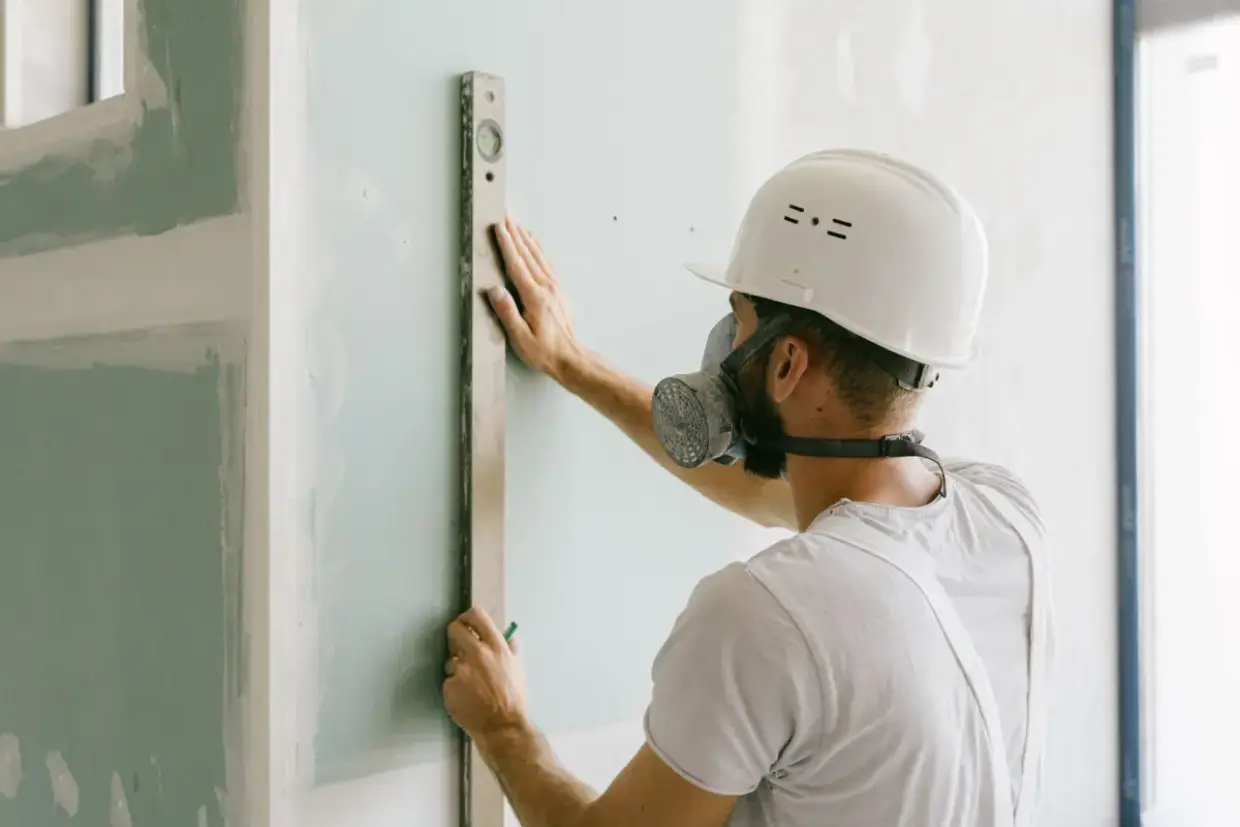
The estimate comes from the space, not from a phone description. Framing gets checked for plane along walls and across ceilings, because a stud bowed a quarter inch out of line will telegraph through finished board and no amount of compound will fix it afterward. Fastener backing gets confirmed at inside corners and where fixtures, cabinets or grab bars will mount later, since retrofitting blocking means opening a finished wall. Panel type is decided room by room at this stage rather than assumed — moisture-resistant where humidity collects, Type X where a rated assembly is required, standard everywhere else — and the target finish level is agreed while it is still a conversation instead of a complaint.
- 2
Hang the Board
Ceilings first, then walls, so wall panels support the ceiling edge and the corner joint is tight. Panels run perpendicular to framing where the layout allows, which puts each sheet across more members and spreads any movement. Seams are staggered so no two joints stack, and joints are kept away from door and window corners where stress concentrates. Screws go in at the spacing the assembly requires, set below the paper without tearing it. On ceilings the panel thickness follows the framing spacing rather than the price list, because 1/2 inch board on 24-inch centers will develop a visible sag long before anything else on the job fails.
- 3
Tape, Coat, and Build the Seams
Tape is embedded in a wet bed coat at every seam and inside corner, and corner bead is set on outside corners and checked for straightness before anything is built over it. Then fill and finish coats go on, each feathered wider than the last so the buildup fades into the surrounding plane instead of stopping at a ridge. Every coat dries completely before the next one goes on — this is the fixed constraint on the schedule and adding people does not shorten it. Compound applied over a coat that has not dried through shrinks and cracks later, which is why compressed drywall schedules produce failures that show up months after the painters leave.
- 4
Sand, Match, and Hand Over
Sanding is taken to the finish level agreed at the start, and the standard is checked under the room's actual lighting rather than a work light. A wall that passes inspection under a bulb held two feet away can still show every seam when the real fixtures go on and daylight crosses it at a low angle. Where new board meets existing surfaces, the texture is sampled from the original, reproduced on scrap, adjusted for thinning and pressure, and only then applied. Dust gets removed rather than moved around, and the surface is left genuinely ready for primer instead of nearly ready.
What Does Drywall Installation Cost in Kenosha, WI?
- Total square footage of board, which is wall and ceiling area rather than floor area
- Ceiling height and whether staging or lifts are needed
- Finish level, since Level 5 adds a full skim coat across every surface
- Panel type — moisture-resistant and Type X cost more than standard board
- Texture, and whether it has to match an existing surface
- Framing correction needed before board can go on
- Access, stair carries, and how far material has to travel from the truck
- Whether the space is occupied and needs containment and daily cleanup
| Service | Cost Per Sq. Ft. | Typical Job |
|---|---|---|
| New Drywall Installation | $1.50 – $3.00 per sq. ft. | $1,000 – $3,254 per project |
| Small Patch or Hole | $75 – $350 per patch | $300 – $500 for a contractor visit |
| Larger Wall Repair | $500 – $800+ per patch | Scales with how much board comes out |
| Ceiling Repair | $297 – $472 per hole | $220 – $1,300 for the full ceiling |
| Water-Damaged Drywall | $500 – $2,500+ | Depends how far the moisture travelled |
| Texture Matching | $150 – $450 per patch | Runs 30 – 40% above a smooth finish |
Based on 2026 national cost-guide data from Angi, HomeGuide, and Homewyse. Kenosha County rates land above or below these ranges depending on ceiling height, access, and how much board has to come out. The largest single swing here is whether a wall turns out to be plaster rather than drywall, which changes the method rather than just the quantity. You get a firm number after someone sees the job.
Installation is usually quoted per square foot of board, and that number hides where the money actually goes. Materials are a modest share; hanging, coating, drying time and sanding are most of it. Two variables move a quote more than anything else. The first is finish level — Level 5 across a whole house is a real line item and specifying it where the lighting does not demand it buys nothing. The second is framing condition: a wall that needs shimming or a bowed stud corrected adds labor no square-foot calculator captures, and a contractor who noticed it during the walkthrough is quoting the actual job.
What to Look for in a Kenosha Drywall Installation Contractor
They Walk the Framing Before Quoting
A price given over the phone from square footage has not accounted for a bowed stud, a missing block, or a ceiling that needs 5/8 inch board. Those are the items that decide whether the finished wall looks right.
They Ask About Lighting and Paint Sheen
Those two things determine the finish level the room needs. A contractor who does not ask is quoting a number rather than a result you will be happy with.
They Will Not Compress Drying Time
Coats applied over compound that has not dried through crack after the painters leave. Holding the schedule on this is the contractor protecting you from a failure that shows up months later.
They Test the Texture on Scrap First
Matching an existing texture means sampling it and adjusting thinning and pressure before anything goes on the wall. Eyeballing a spray pattern is how a patch stays visible for as long as the paint lasts.
Residential & Commercial Drywall Installation
Residential
Residential installation covers additions, remodels, garages, whole-house new construction and the everyday work of joining new board to what a house already has. Around Kenosha that last part dominates, because most of the housing here is drywall-era and the everyday challenge is a texture match rather than a bare framing job.
Commercial
Commercial installation runs against requirements a house never sees — fire-rated assemblies, sound ratings between tenant spaces, and finish schedules written into project documents rather than agreed in a conversation. That work is covered on the commercial drywall installation page, and the sequencing around other trades is what makes it a different job.
When Drywall Installation Isn’t the Right Call
- Small patches and single-room repairs. That is drywall repair, and paying installation mobilization for one hole makes no sense.
- Below-grade work, which has its own moisture and framing decisions and is covered on the basement drywall page.
- Projects where the framing needs correcting but the budget does not allow for it. Compound cannot straighten a bowed stud, it only widens the shadow.
- Schedules that require the finishing phase compressed below drying time. The cracks arrive later and cost more than the delay would have.
- Addresses outside Kenosha and Kenosha County.
Frequently Asked Questions
- How long does drywall installation take?
- Hanging is the fast part — a typical room can be boarded in a day. Finishing is what sets the schedule, because each coat has to dry completely before the next goes on, and that depends on temperature and humidity rather than on how many people are working. A single room commonly runs three to five days start to finish; a whole house runs one to three weeks. In a Kenosha winter with the heat on and the air dry, coats can move faster; in August with lake humidity, they take longer.
- What finish level do I actually need?
- Level 4 covers most rooms under flat or eggshell paint and is the residential default. Level 5 adds a skim coat across the entire surface and earns its cost in specific conditions: gloss or semi-gloss paint, a dark saturated color, a long wall with a window at one end, or any room where light travels along a surface at a low angle. If your living room takes late afternoon sun down one wall, that wall is a Level 5 candidate even if the rest of the house is not.
- Do I need special drywall in a bathroom?
- Yes, and the type depends on the location. Moisture-resistant board is right for bathroom walls and ceilings generally. Inside a shower or tub surround, neither standard nor moisture-resistant board belongs behind the tile — that needs cement board or a purpose-made tile backer, because moisture-resistant drywall is designed to handle humidity in the air and not water running down it. Getting this wrong is not visible for a few years and then it is very visible.
- Does my attached garage need fire-rated drywall?
- The separation between an attached garage and the living space it adjoins is required to be a rated assembly, which in practice means Type X board of the specified thickness with the joints properly taped and finished. Unfinished joints defeat the assembly even when the right board was used. It applies to the wall between the garage and the house and to the ceiling where there is living space above. Local building inspection is the authority on the specifics for your particular configuration.
- Can new drywall be matched to the texture already in my house?
- Usually, and around Kenosha this is the most common request rather than an unusual one, because most local housing is drywall-era with sprayed texture already on the walls. Matching means identifying the texture type, sampling the original, and test-spraying on scrap to dial in thinning and pressure before anything touches the wall. A patch sprayed a shade heavier than its surroundings stays visible for the life of the paint, which is why the test step is not optional.
- Why are there cracks in my brand-new addition?
- Framing lumber carries moisture when it is installed and gives it up over the first heating season, and as it dries it shrinks slightly. That movement shows up as hairline seam cracks and the occasional popped fastener during the first year or two. It is normal rather than a defect, which is why a lot of builders schedule a touch-up visit after the first winter. Cracks that keep returning in the same place after that period are a different problem and worth investigating rather than filling again.
Learn More
- Gypsum Association GA-214 — the published definition of drywall finish levels 0 through 5
- City of Kenosha Building Inspection — local permitting and inspection requirements for residential construction
- Wisconsin DSPS Uniform Dwelling Code — the state code governing one- and two-family dwelling construction
Need Drywall Installation in Kenosha, WI?
Tell us what’s going on and get an on-site estimate — no charge for the visit, and no obligation to book the work.
Get My Free Estimate